

Creating the proper setting is the most important part of successful photography. No matter how good your equipment is, and no matter how amazing your skills are, at the end of the day, if you don’t create the right setting you will not be able to capture the moment perfectly. Every photographer, no matter if they are professional or if they are just testing out this profession as a hobby, knows that sometimes we need artificial lighting to capture the perfect image. The LED lights are the ones that are most practical when it comes to artificial lighting and they will let you create the scenery you want. In this article, we’re going to tell you how to properly use dimmable LED studio lights.
What to pay attention to?
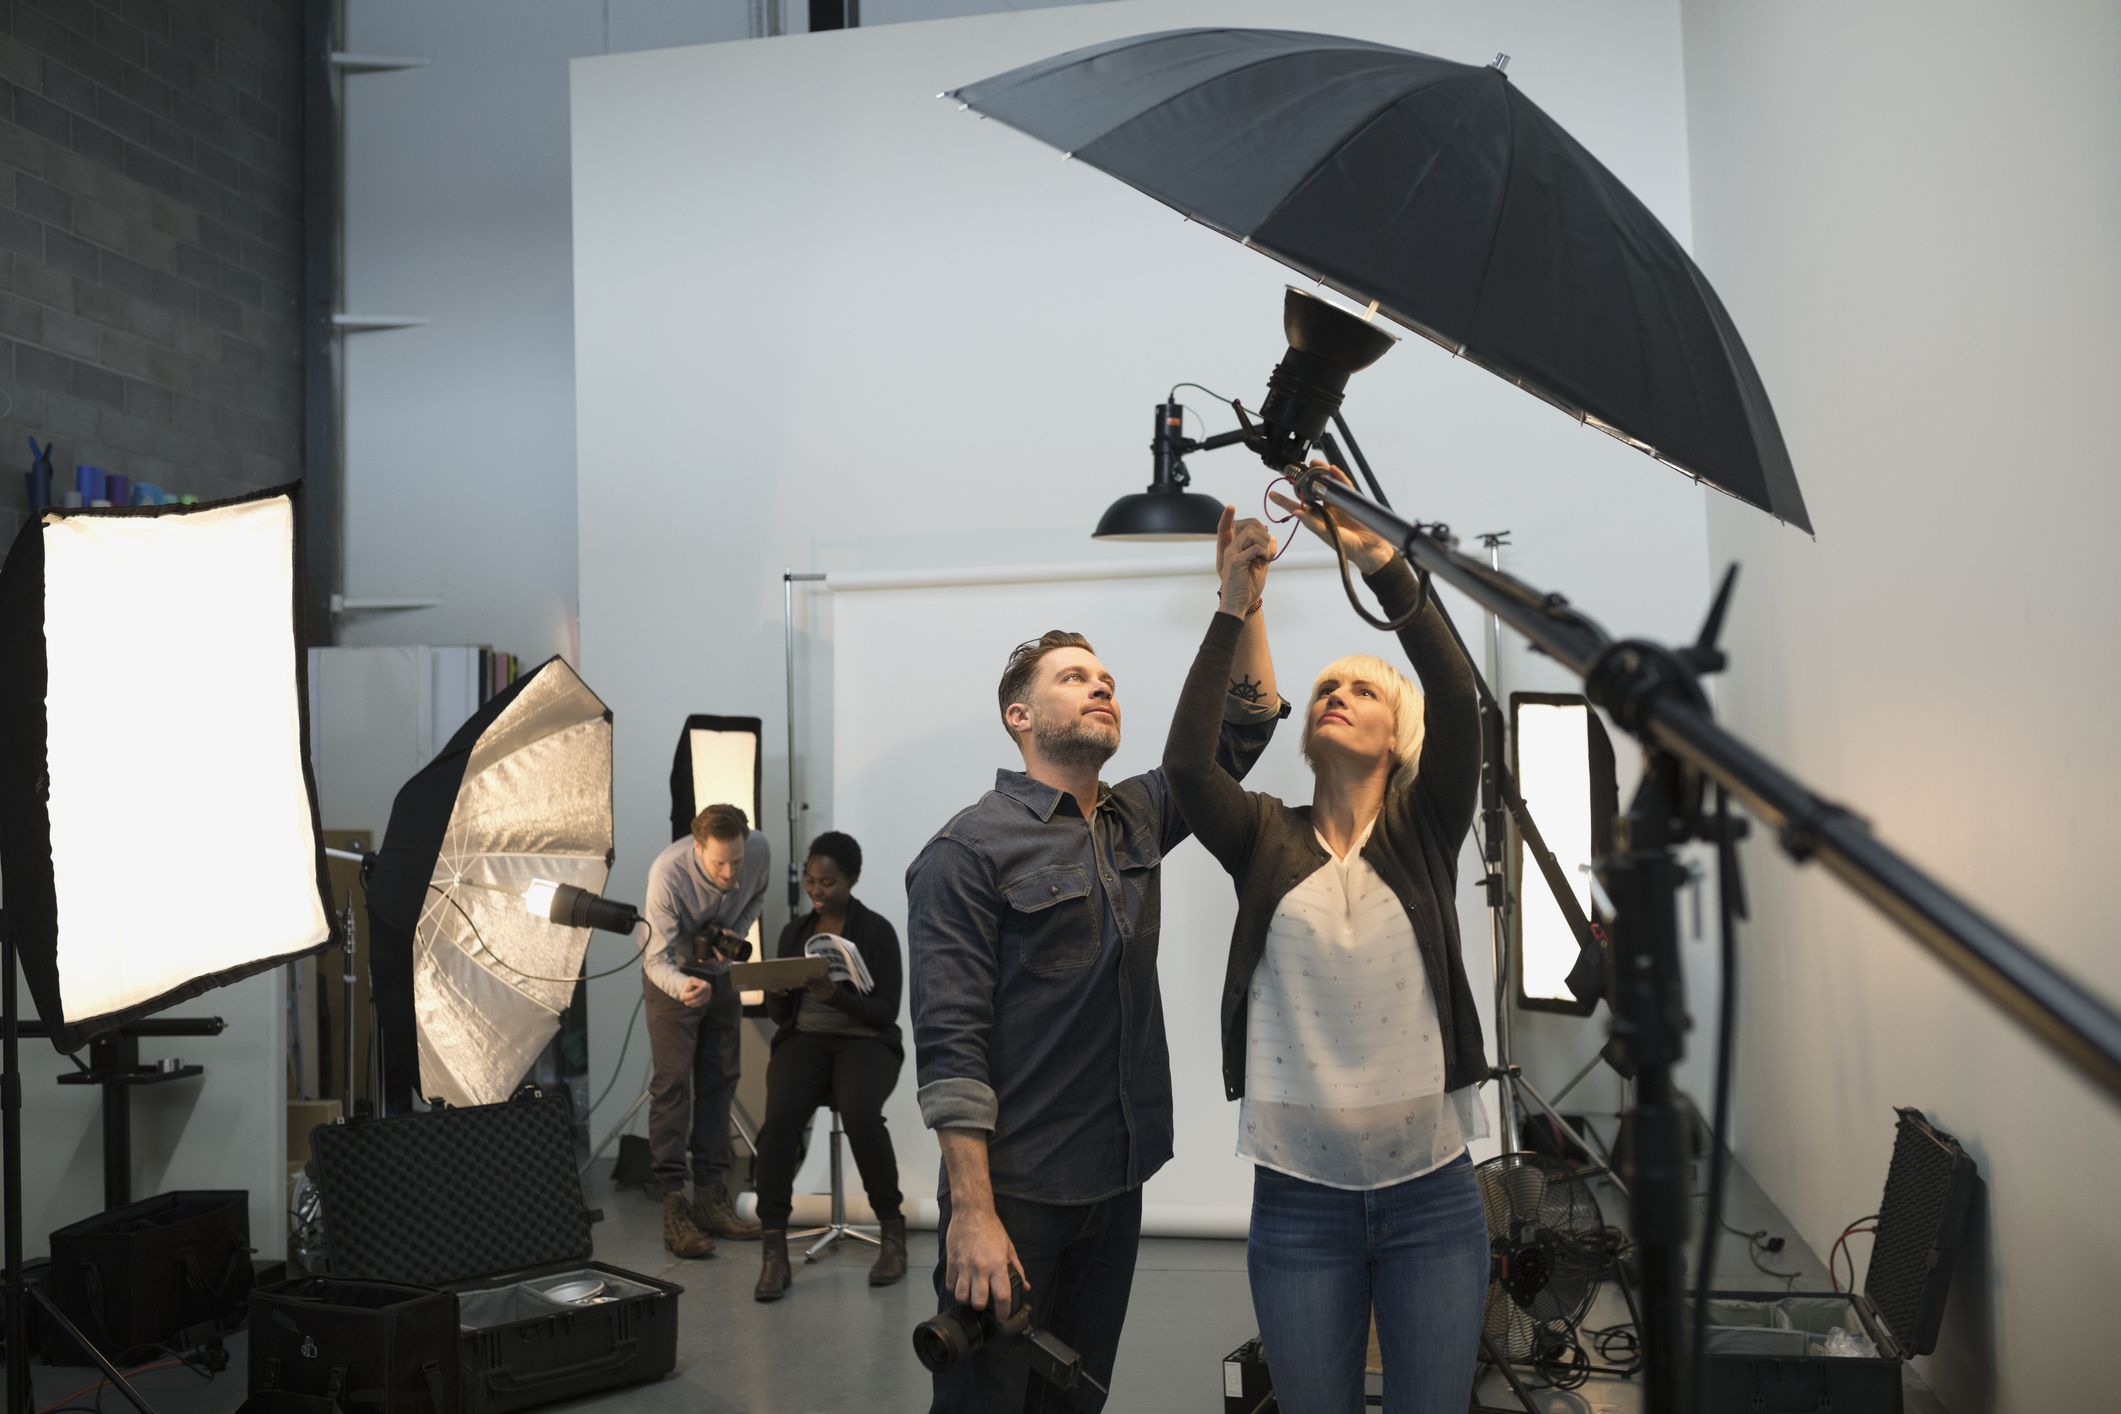
The first thing we are going to talk about is the LED studio lights, and what you need to be aware of before installing them. No matter if you are in need of home recording studio lighting, or you have a special space or office where you take the pictures, you need to be aware of the placement of these units, as well as the image you want to capture.
The reason why we use dimmable lights is that we need to be in full control over the depth of the image, the shades, as well as the point we want to make with the image. When you want to put the focus on one specific part of the item you’re capturing, you need to play around with the lights.
This also means that you need to decide if you’re going to use the dimmable LED studio lights on their own or if you want to implement other fixtures that are going to help with the focal light or with the black light. This is a thing that you need to consider and plan ahead so that you don’t end up making mistakes, not only when purchasing your equipment but also when setting it up.
If you are a professional photographer and if you have years or decades of experience you probably know what you can do and how you can play around with the lighting to create the perfect moment. However, if you are new in this business and if you are you still learning what you need to do, you probably need to test things out before you commit to anything. The best thing you can do is test out different types of equipment without purchasing them so that you know which is the right way to go.
How to properly use them?
Now let’s see how to properly use these devices and what to do to make sure that your equipment is always set up to help you capture the right image.
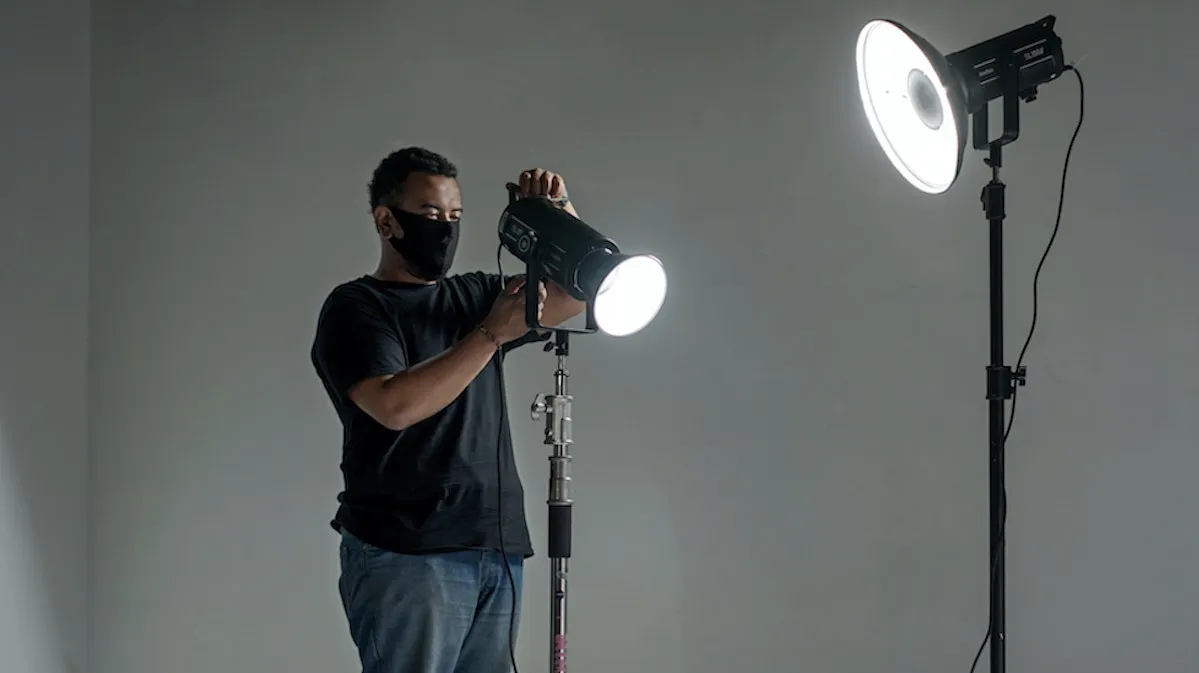
The number one thing you need to do is first find the right type of LED studio lights that you want to invest in. For example, the Moman CL60 creative studio lighting photography is the best when you are in need of bi color LED studio lights with remote control and this model is amazing for those who want to perfect their skills without spending thousands of dollars on equipment.
Keep in mind that not every LED is going to be adjustable so make sure that you have the special LED dimmer switch and that the bulbs can be dimmed.
When installing the equipment, you need to know where to place it and if you want it to be easily movable and transportable from one place to another, or if you want to fix it in one location and use it in that studio only. Note that the ones that are easy to move are usually lightweight, however, you would need to invest a bit more if you don’t want to risk the equipment getting damaged. On the other hand, if you want something that will not cost too much and that can easily be moved keep in mind that that equipment may not last as long as you want.

If you choose to have LED studio lights bi-color adjustable that is fixed in one position you need to play around and see which position is going to be the best for you depending if you want this to be the focal light or if you want this LED devices to create only the backlight. Remember that since they are adjustable the dimmable units can really help you create depth and richness in the photography that you make. No matter if you are trying to create a campaign and capture a product or if you want to take a portrait of people, you can use the adjustable lights that can come in many different colors to create a story and capture the essence.
These units are amazing when it comes to longevity and they’re going to last far more than any other type of fixture. They’re going to help you save power and lower your electricity bills and they’re also going to give you full control of the settings. No matter if you choose units that come with a remote or if you want to do the control manually from the dimmer directly, you can test things out and create the richness that you desire.
Note that these devices are the best when it comes to studio lighting color temperature adjustment and that with them you can create a cozy and warm feeling, or you can opt for cooler tones that are going to portray elegance. The most important part you need to do is find the right units for your need, decide if you’re going to go with just one fixture or several ones, and where you’re going to place it.
When it comes to choosing the colors and when it comes to creating the right setting it is all up to you. You can never go wrong if you are testing out your creative site and if you’re trying out new things. There is no exact formula that you can use to suddenly become amazing in choosing the lighting. At the end of the day, when creating studio photography, it is up to you to test different things out see what works, and with the help of the right equipment capture beautiful moments.


